How to Sew Shank Buttons? Blazer and Jacket Buttons Sewing Guide

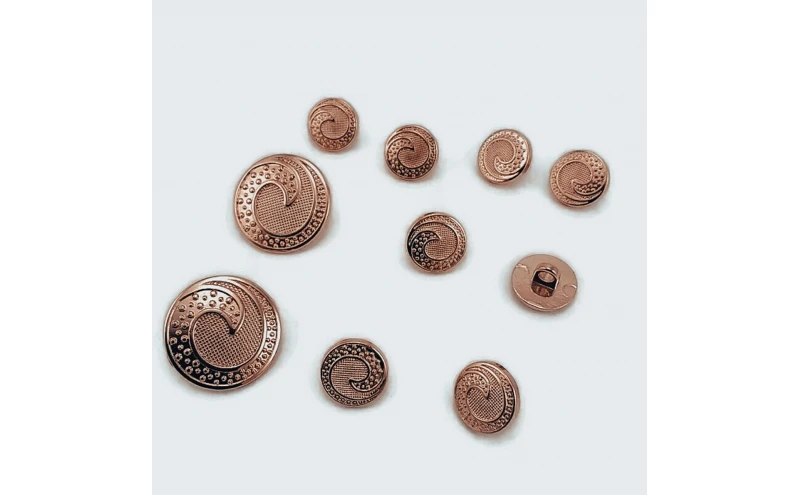
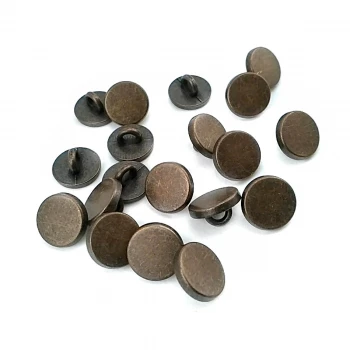
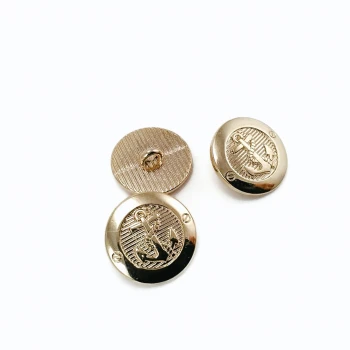
Wondering how to sew a shank button? Most of us know how to sew a flat button, but not everyone knows the right steps for a stand up jacket button. There are two basic types of buttons, the shank button and the flat-hole sew-in button type. The hshank button has a loop-shaped tab on the back with a hole on it and is used to sew the button onto the fabric. There are different sizes of shank to shank length and it is something you need to know when choosing this type of button. Here are more differences between flat button and body button.
If you're looking for thin buttons for chunky wool coats, look for buttons that are larger and have a longer lower shank than buttons for blouses in lightweight fabric. On a heavy coat, short shank don't look stylish because the buttons won't be long enough to stay in the buttonhole, so the buttons pull themselves out of the hole. Remember that our goal is to sew the shank button neatly and safely.
Materials Required to Sew the Footed Button
- Shank Buttons
- Scissors
- Thread
- Needle
Sewing Instructions
- Threading the needle. Then knot the end of the thread.
- Find the exact spot on the garment where you want to sew on your button. Starting at the back of the garment, insert the needle into the fabric and pass it back through the garment towards you.
- Make two of these unbuttoned stitches. Next, position your body button over the seams you just made on the inside of the garment. Fasten the inside button by making another stitch. The inner button (the small two or four hole sewing button mentioned here, the purpose is to increase the strength) is optional. However, if you think your shank button will be used a lot, the inside button will protect the garment from wear and tear.
- Raise your needle and make one more stitch through the button and reverse stitches through the fabric and inside button if applicable.
- Repeat the stitches at least 6-7 times and secure the stitches by wrapping the thread around the stitches, keeping the body button upright. Create a loop of yarn on one side and thread your needle through the loops. Pull everything firmly and securely. Make three wrap stitches around each thread holding your button. This keeps your button strong and secure. Make a knot and cut off the excess thread.
- Use thread colors similar to the garment you are sewing. For extra strength, use quilting or carpet yarn for thicker garments.


-Kalkan-Desenli-E-965-SET6-2-350x350.webp)
